
Your download has started — 4 quick steps to open Neenja
Neenja for Mac isn't in the App Store yet, so macOS asks you to confirm it once. Follow the steps below in order.
- 1
Download Neenja — it started automatically.
Look for Neenja-1.3.0-universal.dmg in your Downloads folder.
Didn't start? Download again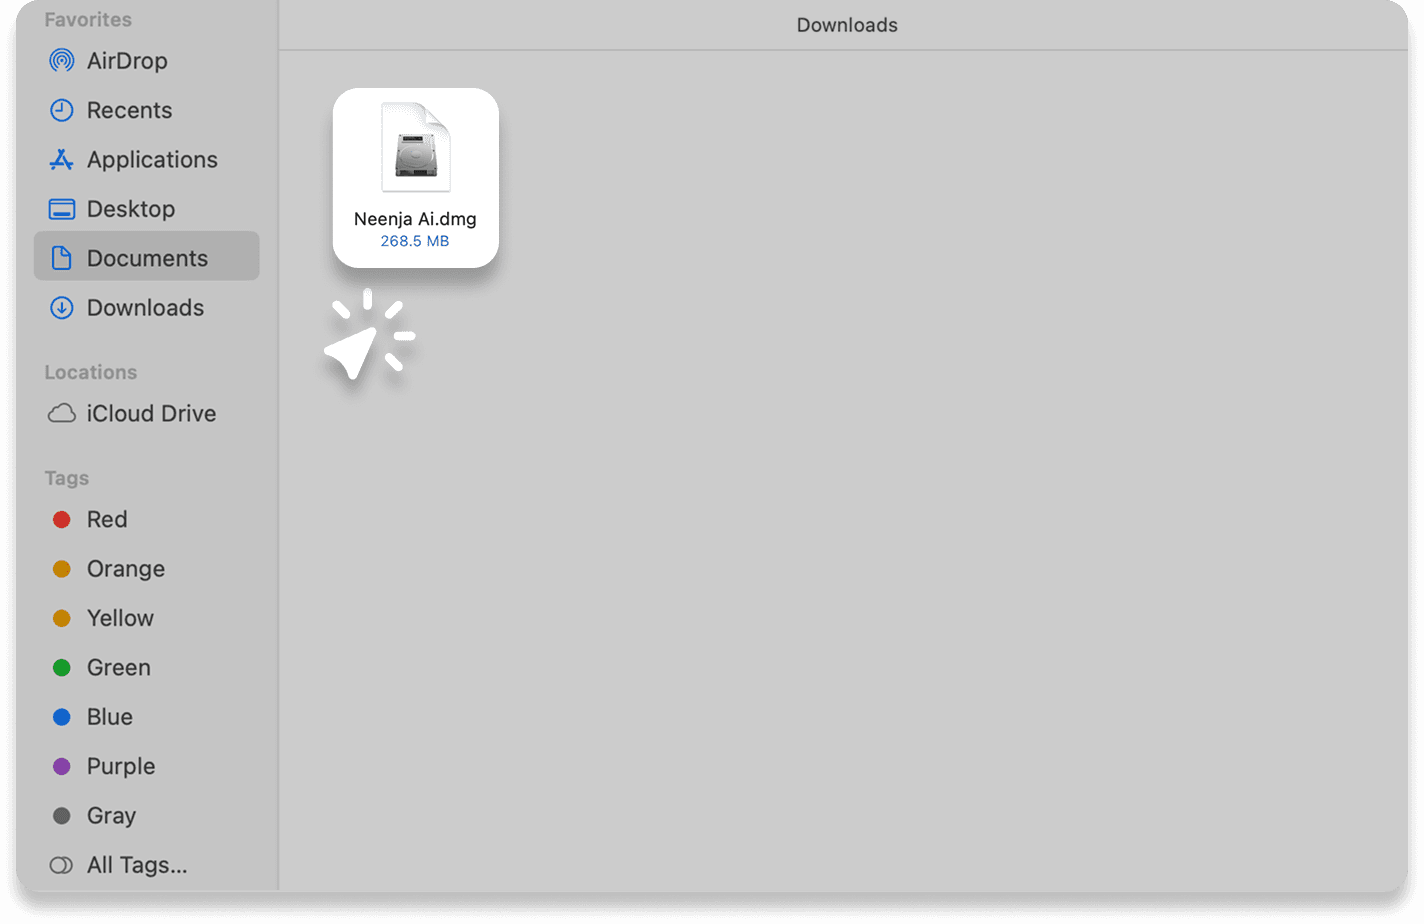
- 2
Open the DMG and drag Neenja into the Applications folder.
- 3
Open Terminal and run one command.
Press ⌘ Space, type Terminal, and press Return. Paste this command and press Return:
Terminalxattr -cr "/Applications/Neenja.app" && tccutil reset Microphone com.neenja.desktop && tccutil reset ScreenCapture com.neenja.desktopNothing is typed back when it works. You may see “Successfully reset”.
- 4
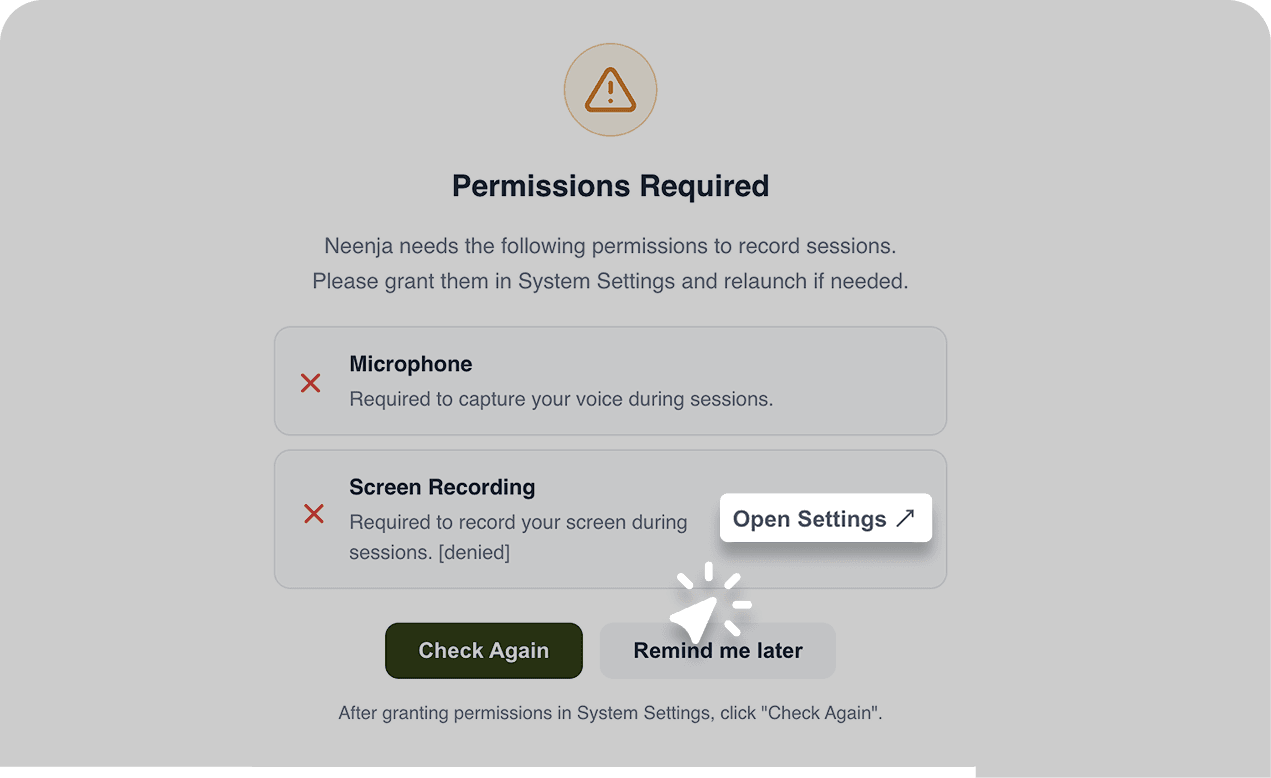
Open Neenja from Applications and allow the permissions.
Click Allow when it asks for the Microphone. For Screen Recording, click Open Settings, switch Neenja on, and let macOS reopen the app.
Prefer not to use Terminal?
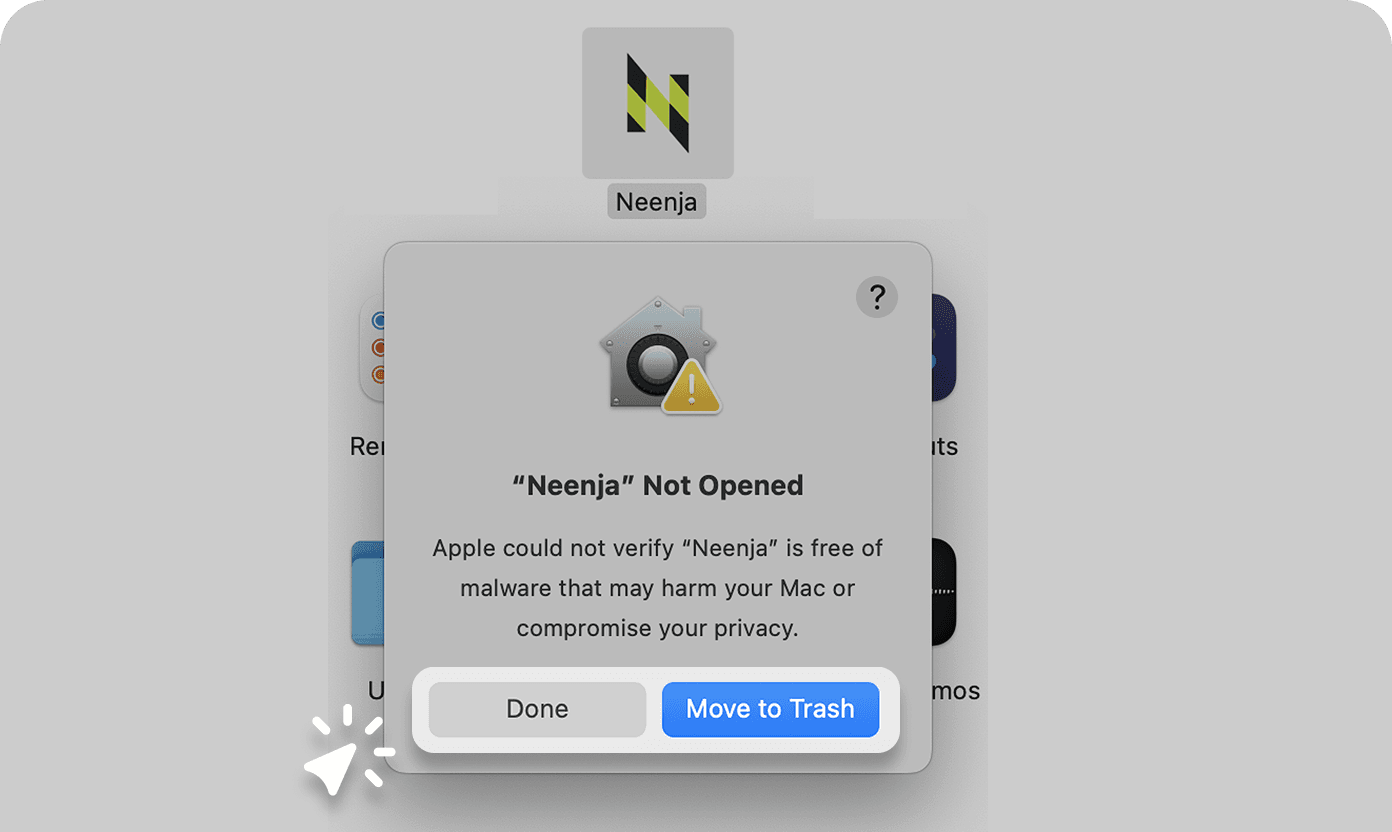
1. Try to open Neenja from Applications. When macOS says it couldn't verify Neenja, click Done.
2. Open System Settings › Privacy & Security, scroll down, click Open Anyway next to Neenja, and confirm with your password.
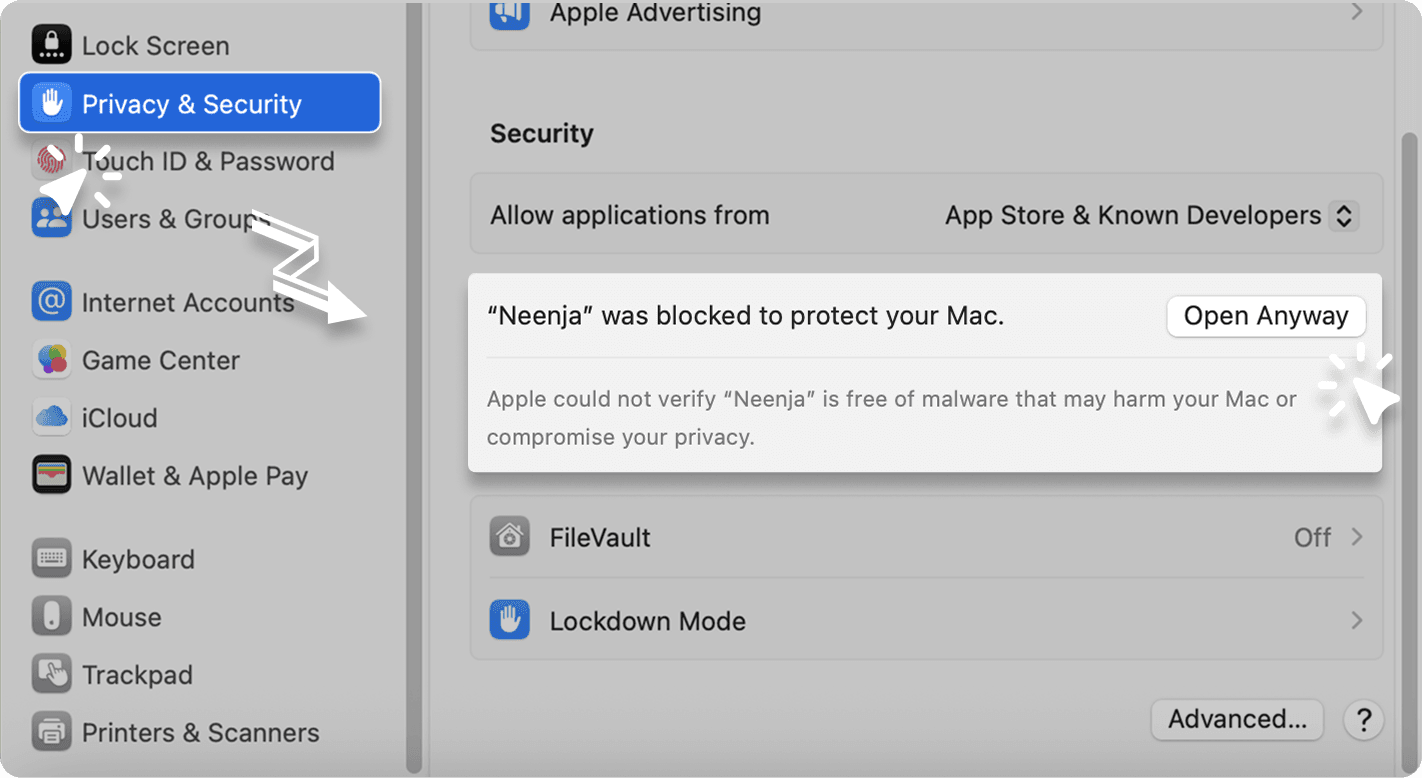
You may need to repeat this after each update. Then continue with step 4 above.
Troubleshooting
- “Neenja” is damaged and can't be opened — step 3 was skipped. Run the Terminal command, then open Neenja again.
- Neenja is missing from the Screen Recording list — click + under the list and add it from Applications.
- Still stuck?